
Panelling a garage wall with Radiata plywood, from Plywood Direct’s easy-to-choose range, is a great way to improve the functionality and aesthetics of your space. Radiata plywood is known for its durability, versatility and attractive pinkish appearance. Whether you want to create a clean, organised storage area or transform your garage into a hobby workshop, panelling with Radiata plywood can be a fantastic choice. Allow us to guide you through the process of panelling your garage wall with Radiata plywood.
1. Gather Your Materials:
Before you start, make sure you have all the necessary materials:
- Radiata plywood sheets
- Measuring tape
- Saw
- Spirit level
- Screws
- Drill
- Stud finder
- Pencil
- Safety gear
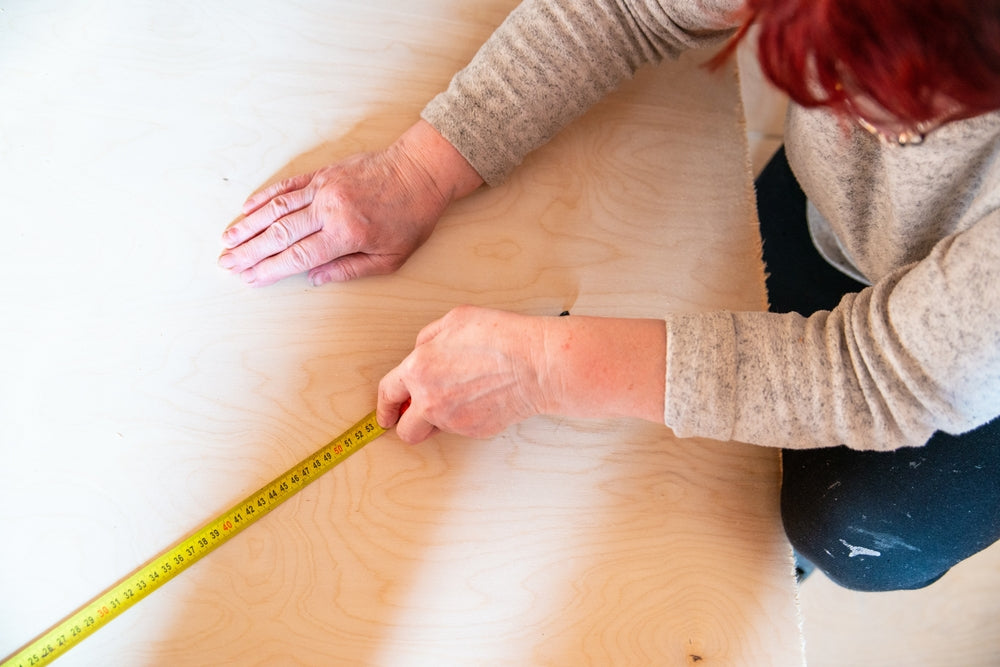
2. Measure and Plan:
Begin by measuring the area you want to panel. Measure the height and width of the wall to determine the number and size of plywood sheets you'll need. Planning is essential to minimise waste and ensure a neat finish.
3. Cut the Plywood:
Using your saw, cut the Radiata plywood sheets to the appropriate dimensions. Make precise cuts to ensure a snug fit on the wall.
4. Locate Wall Studs:
Use a stud finder to locate and mark the wall studs. Attaching the plywood to the studs ensures a secure and long-lasting installation.
5. Level the First Sheet:
Place the first plywood sheet against the wall, starting from the corner. Use your spirit level to ensure it's perfectly vertical. Use your drill to attach the plywood to the studs with screws. Position screws at the top, bottom and sides of the sheet, roughly every 12-16 inches.
6. Continue Panelling:
Repeat the process for the remaining sheets. Ensure each sheet is level and snugly attached to the previous one. Make necessary cuts for outlets, switches or other obstructions on the wall.
7. Seal and Finish:
After panelling all the sheets, you can finish the project by sealing the plywood. You can choose to paint, stain or apply a clear finish to protect and enhance the wood's natural beauty. This step adds both style and protection to your garage wall.
8. Add Shelving or Accessories:
Now that you have a beautifully panelled garage wall, consider adding shelving or other accessories to enhance the functionality of your space. Wall-mounted shelves, hooks and storage bins can help keep your garage organised and clutter-free.
9. Regular Maintenance:
To ensure your Radiata plywood wall remains in great condition, periodically inspect for any signs of wear or damage. Repair or refinish as necessary to maintain its beauty and durability.
Panelling a garage wall with Radiata plywood is a rewarding DIY project that can transform your space. Get started today by ordering your plywood from our website or get in touch for further advice.